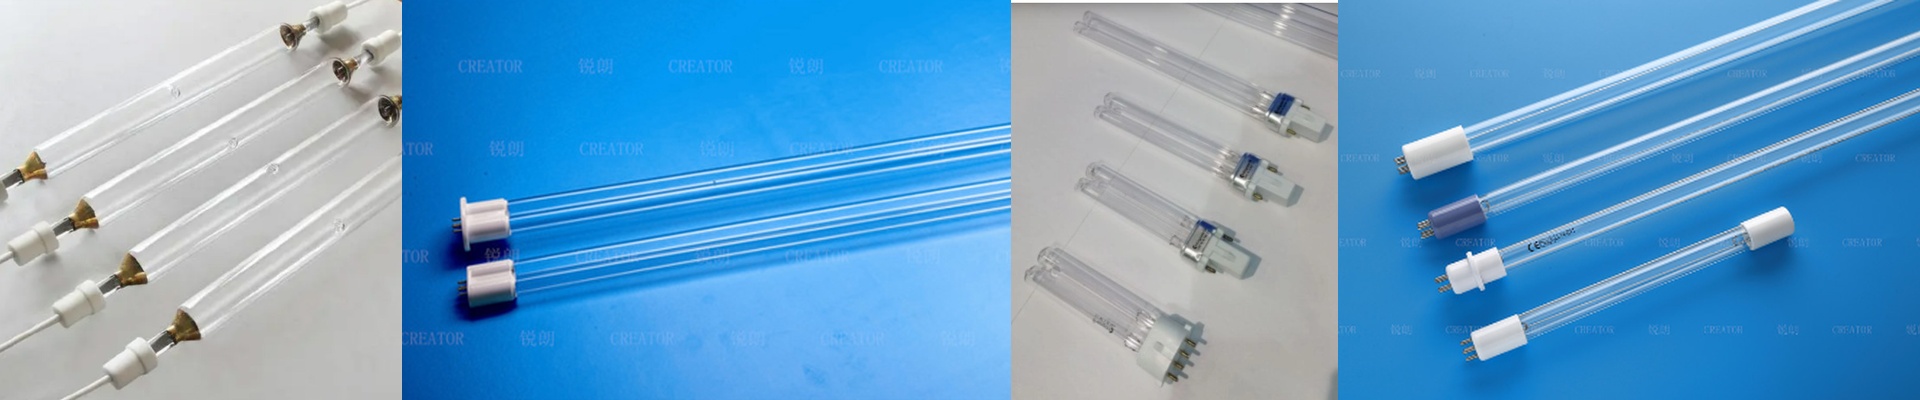
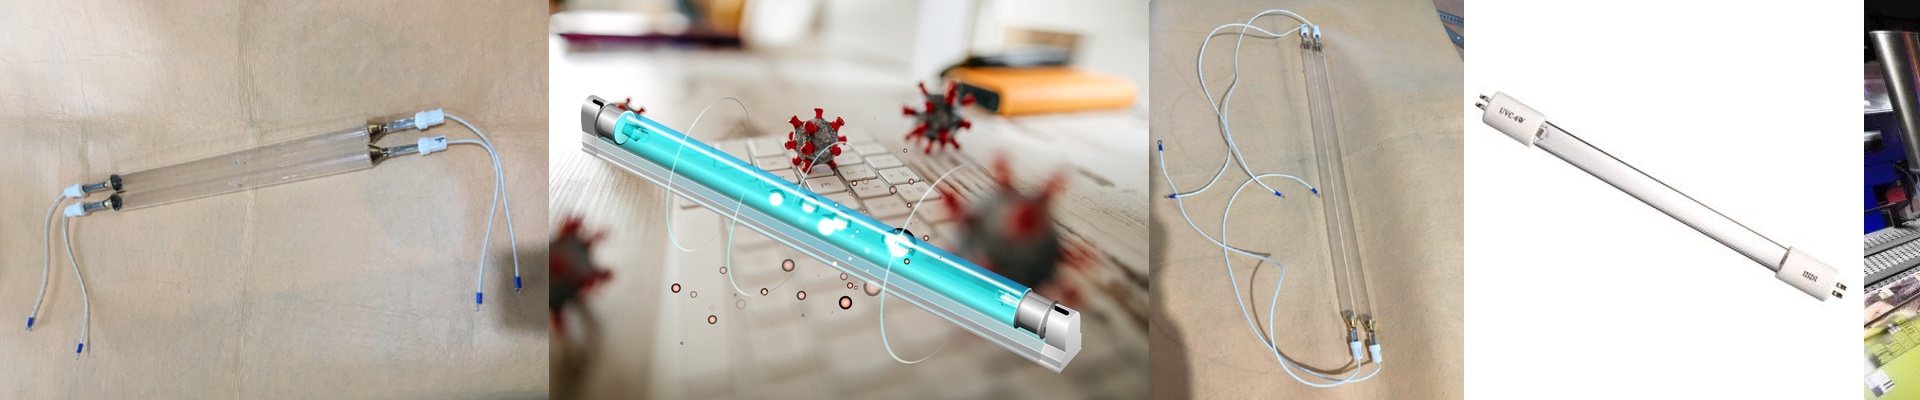
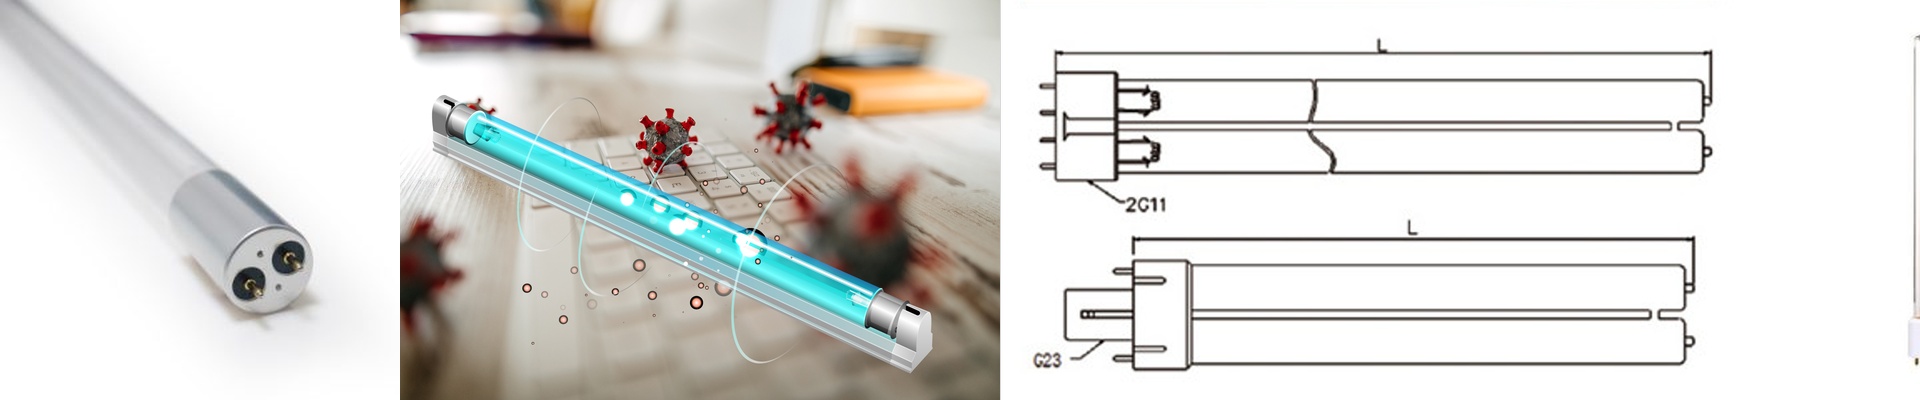
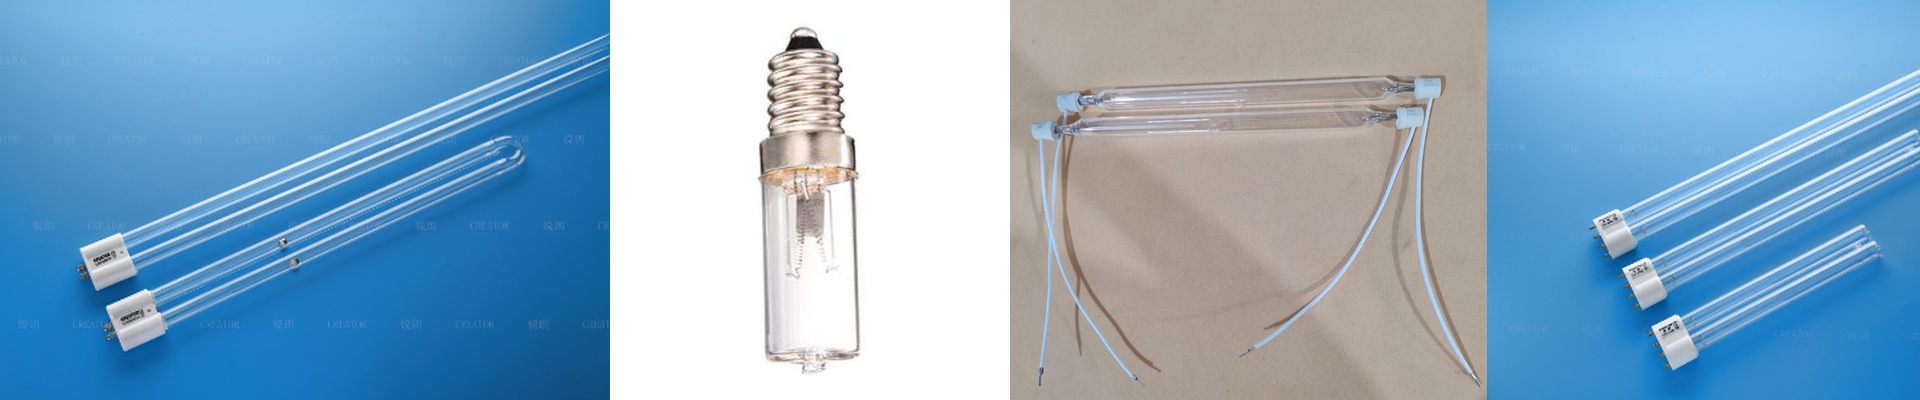
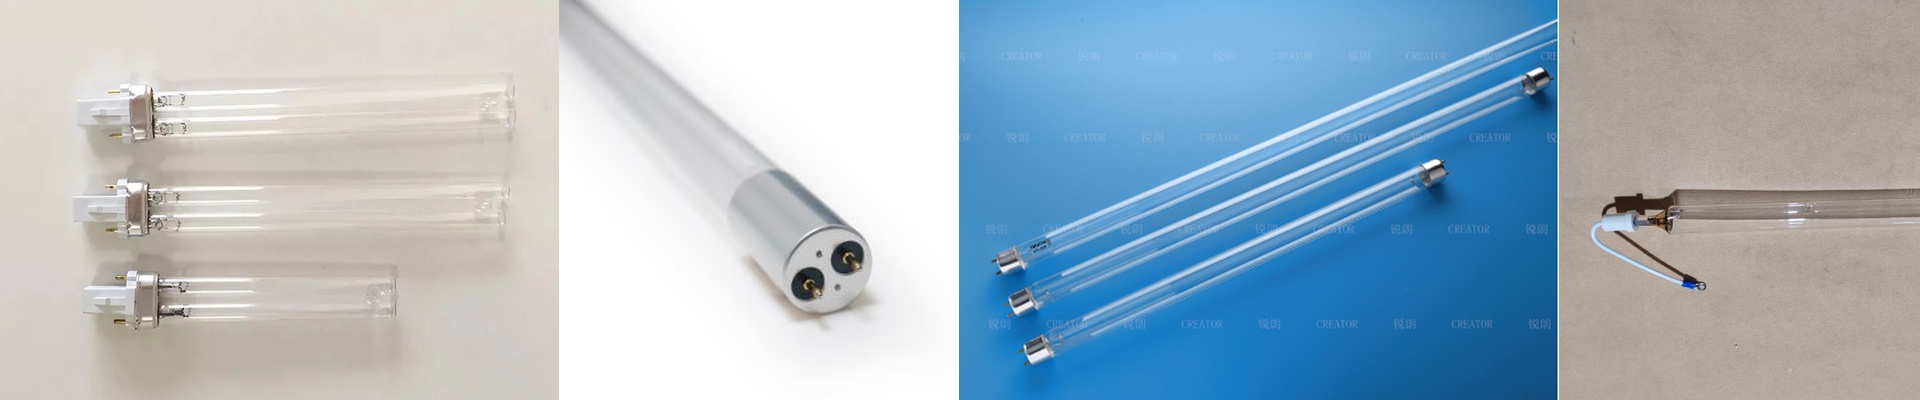
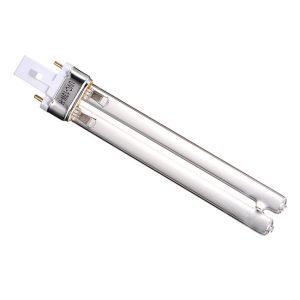
On the press floor, a custom UVC germicidal lamp that’s falling off its curve doesn’t throw a warning light. You feel it in the inconsistent disinfection, the scrapped substrate, and the downtime that hits when you can least afford it. In UV curing and industrial printing lines, that 254nm output has to stay inside a tight energy window—otherwise you miss the microbial kill and your process starts to wobble. If you don’t have a repeatable way to measure intensity, you’re running with the instrument panel covered. What matters, technically A UVC germicidal bulb is rated for a specific spectral output at 254nm, with peak irradiance and delivered energy density expressed in mJ/cm². Over time, output drops—electrode wear, quartz sleeve degradation, and reflector efficiency loss all chip away at it. The only way to know if the lamp is still in spec is to measure it with a UV energy test strip that gives a pass/fail reading at defined exposure thresholds. That method ties directly to what the lamp actually delivers at the target surface, not what the datasheet says it should. Why this approach fits UV printing In UV printing—offset, screen, and flexo—routine intensity checks with simple test strips turn maintenance into a schedule you can plan around. You catch output decay before it shows up as adhesion problems, ink tack issues, or failed disinfection, and you cut down on scrap and rework. The payoff is fewer emergency lamp changes, cycle times that stay stable, and less wasted energy from running a lamp long past its useful life. Here’s what you need to keep straight UVC energy test strips are only as good as your measurement setup. Lock down the test position, confirm the distance to the lamp, and keep the exposure time the same week after week. And don’t overlook reflector alignment—misalignment can slash delivered dose even when the bulb still fires. Finally, make sure the lamp and fixture are truly compatible; mismatched bases, voltage, or arc length will throw off readings and take the warranty with them.