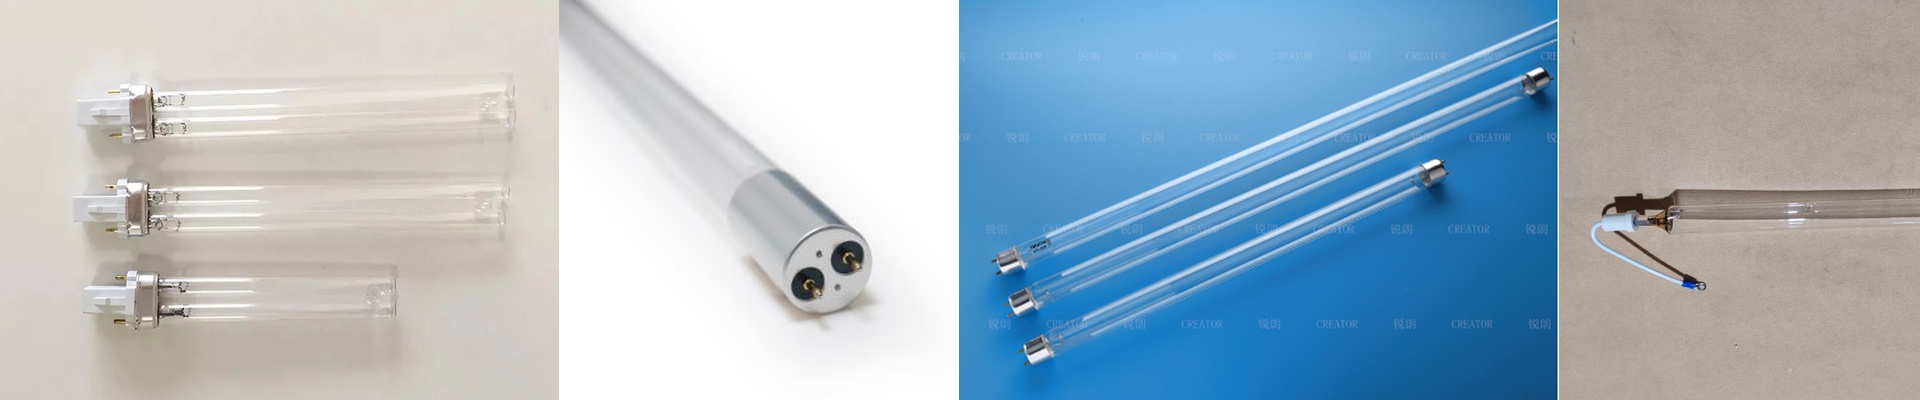
Getting Your UV Curing Right (Without Burning Your Project to a Crisp)
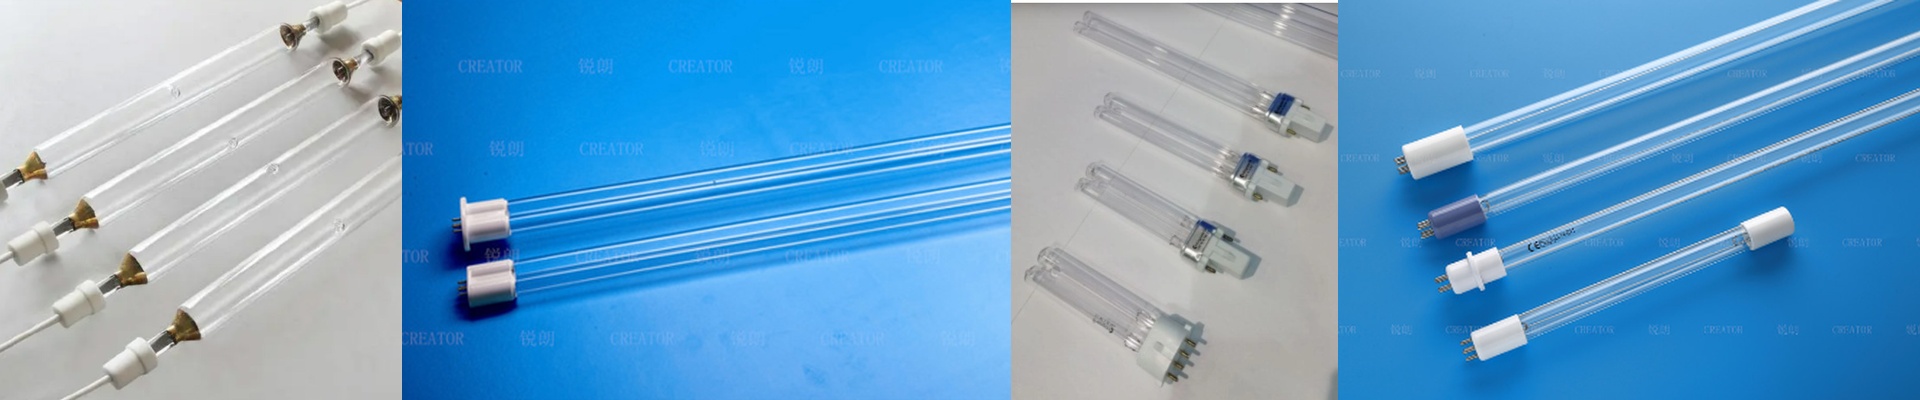
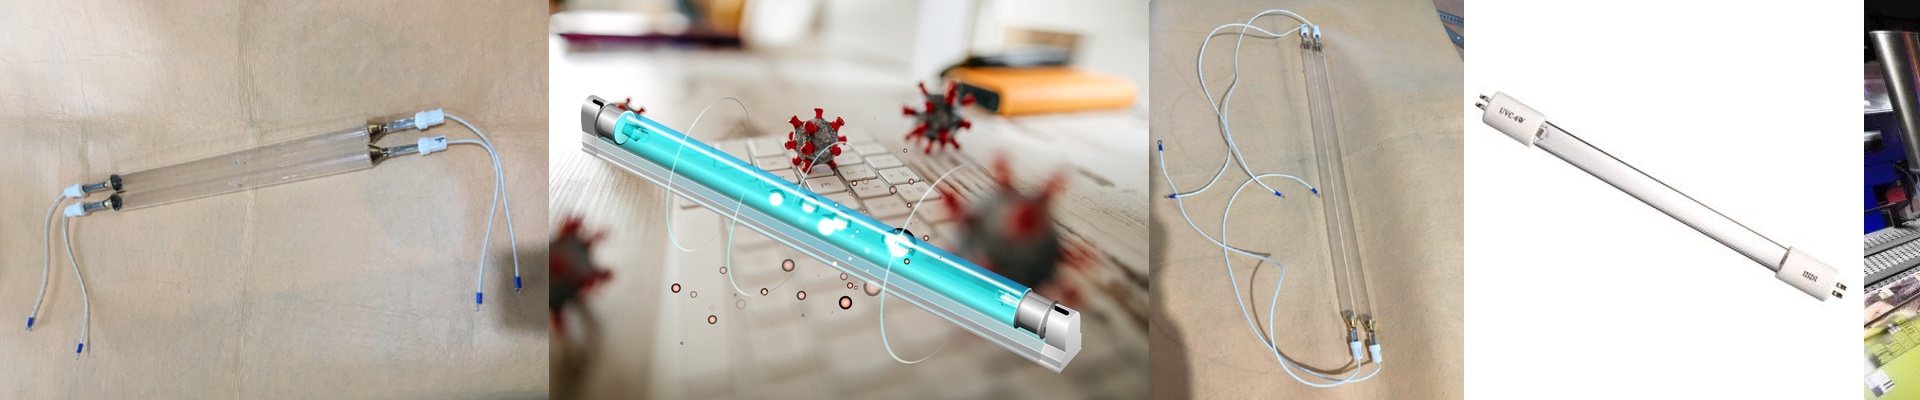
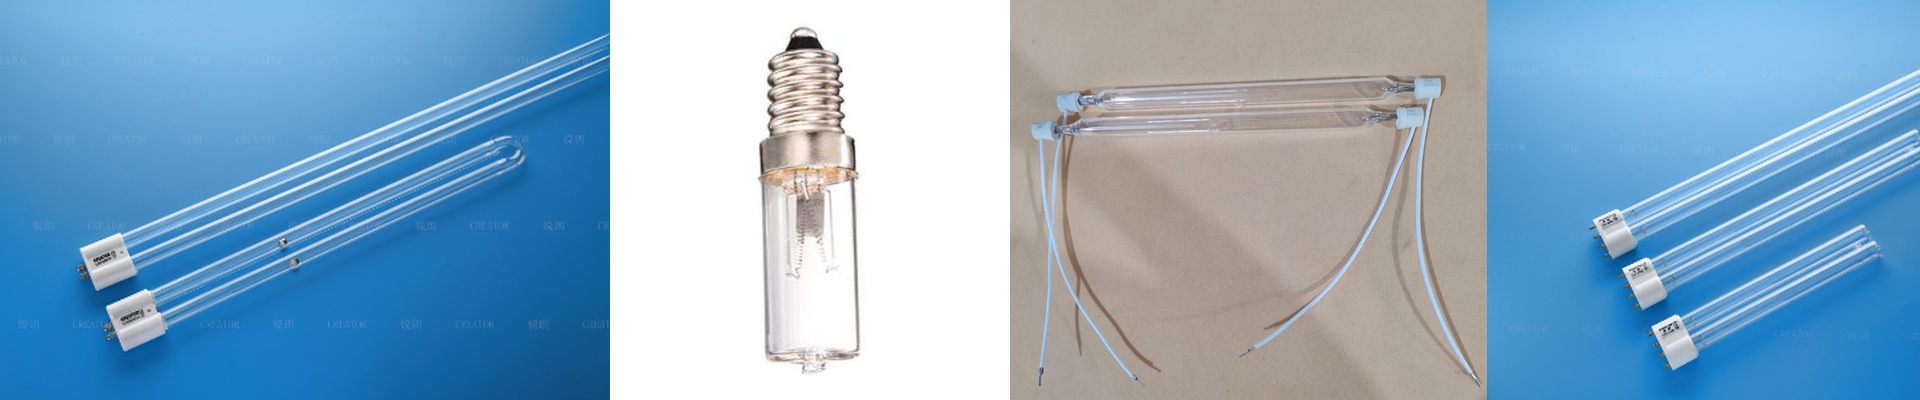
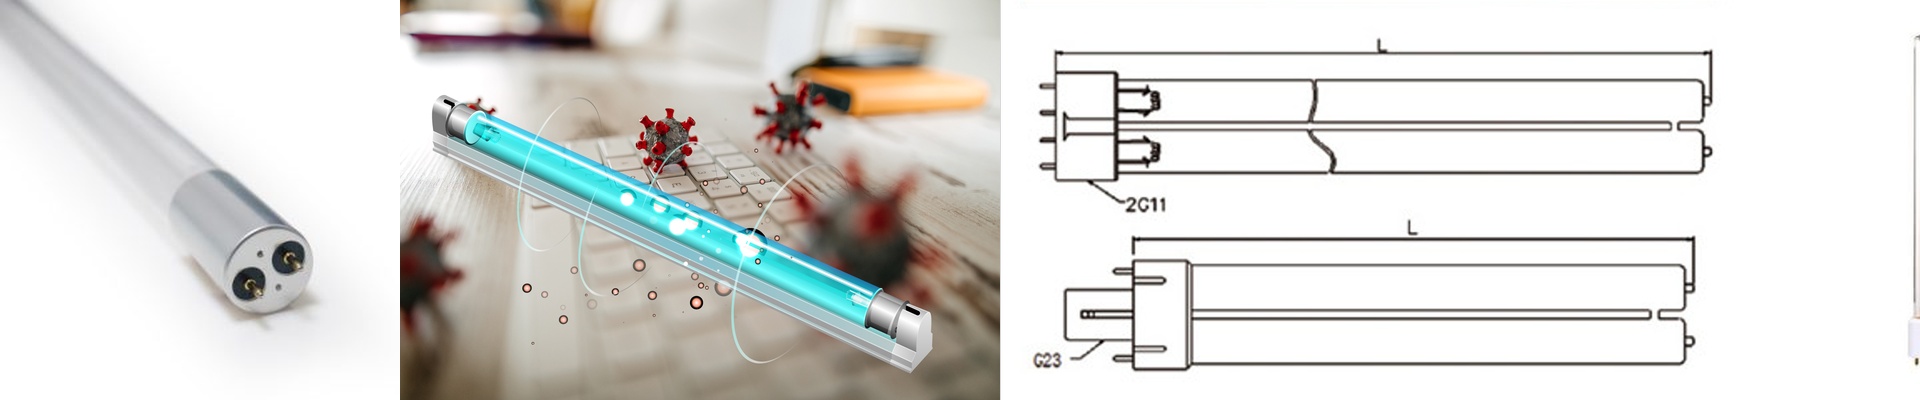
When people talk about UV curing, they tend to get bogged down in the science. But let’s be real: you just want your ink to dry instantly so you can stop worrying about smudges and get your line moving faster. That’s where we come in. We build Custom lamps that hit that sweet spot where the chemistry actually happens. The balancing act of power and heat Here is the thing about UV energy. You need enough “oomph” (irradiance) to get the job done, but you can’t just crank the wattage to eleven and call it a day. If you push too much power without a plan for the heat, you’re going to scorch your materials or fry the ends of your lamps. It’s a tightrope walk. We look at how fast your conveyor is moving and how thick your substrate is, then we dial in the wattage and tube length to match. The goal is a consistent cure across the whole web, not a patchy mess. The gear that actually lasts We don’t do “generic.” We use high-purity quartz glass because it lets the UV light through while handling the heat without cracking. And since every ink is different, we can tweak the wavelength. Need a rock-hard surface? We go shortwave. Need the cure to soak deep into a thick coating? Longwave is the way to go. Even the connectors matter. We use tight-tolerance fittings because loose connections lead to arcing at the lamp head, and nobody wants to deal with sparks in the middle of a shift. Putting it to work Whether you’re swapping out an old lamp in an existing tunnel or building a whole new setup from scratch, these are designed to just work. You get more throughput and a tighter cycle. Simple. But a quick heads-up: higher output means more stress on your power supply and your fans. If your airflow is choked, your lamps are going to die way sooner than they should. Before you upgrade to a high-wattage array, take a look at your ventilation. It’s a five-minute check that saves you a massive headache later.