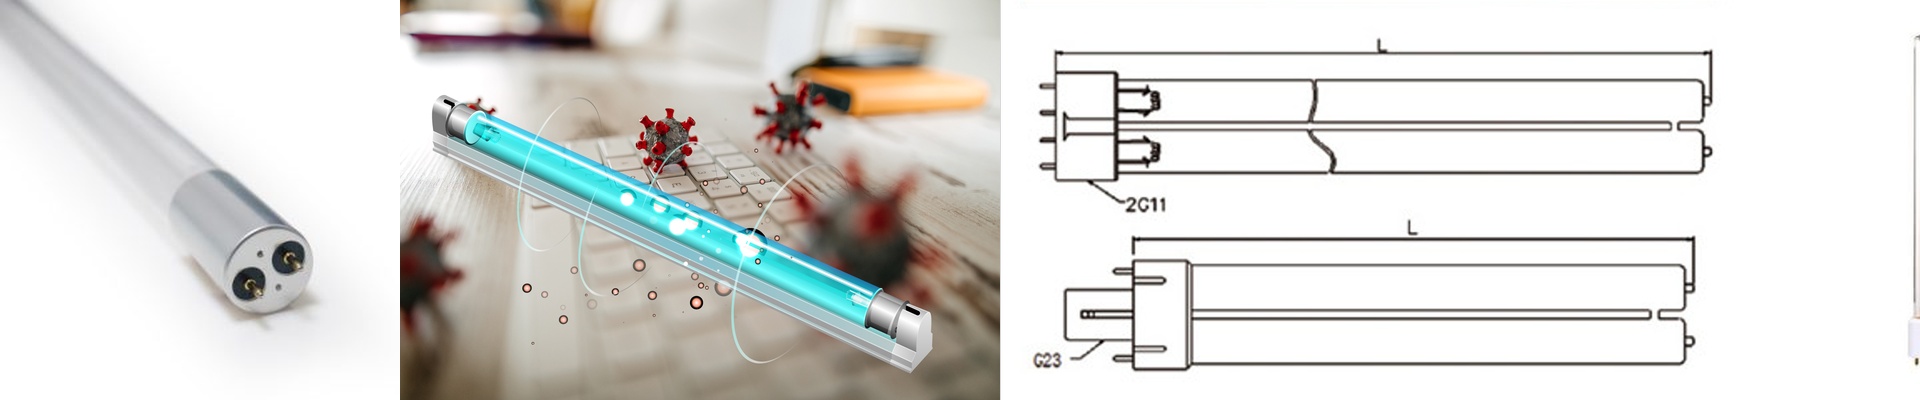
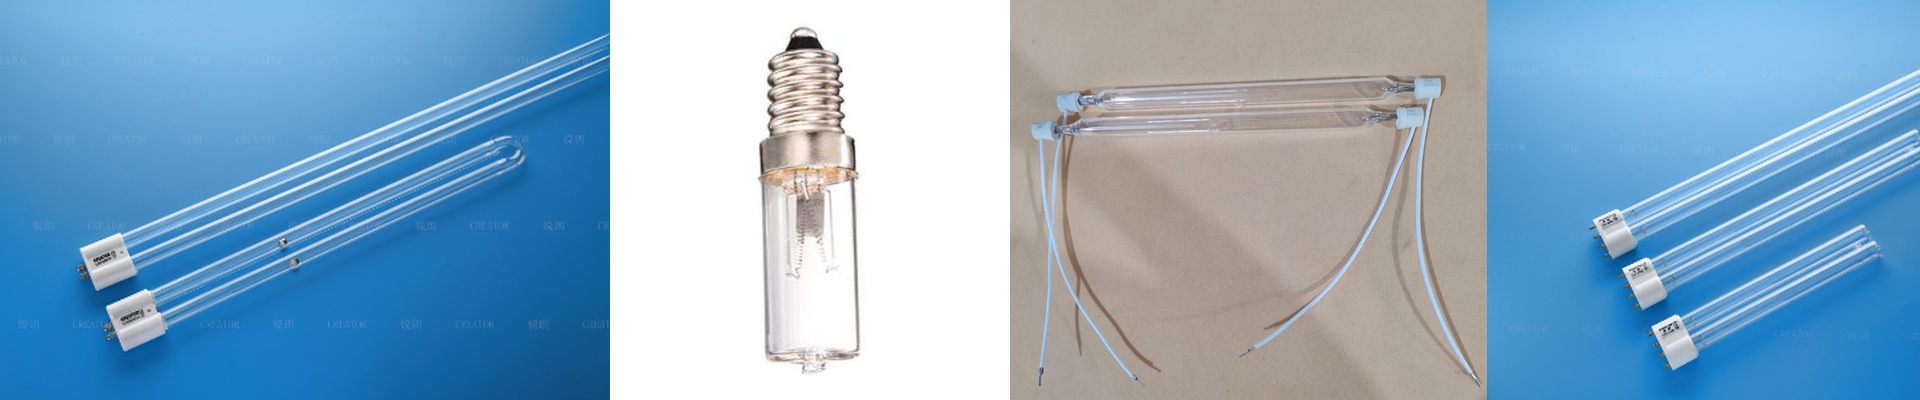
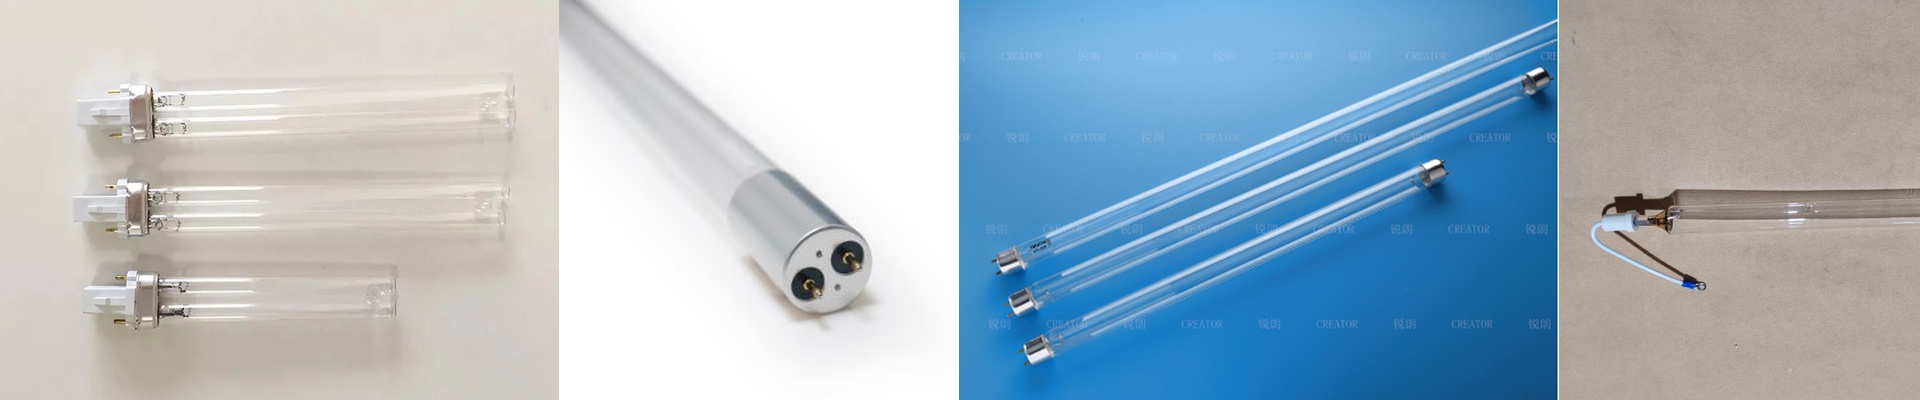
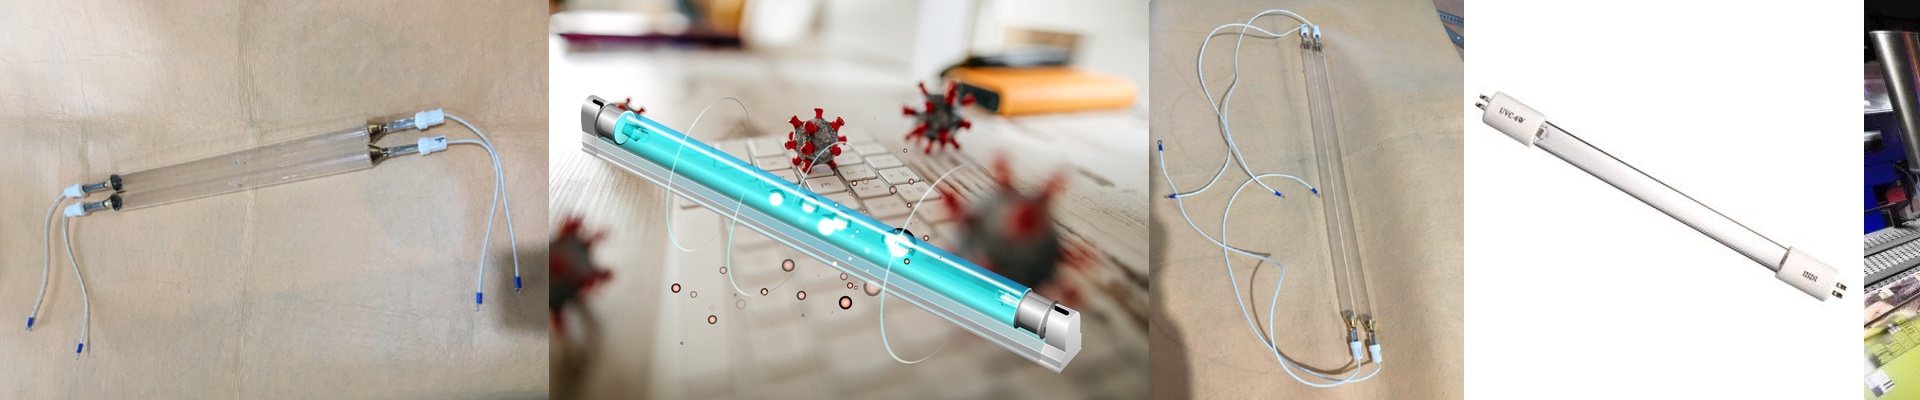
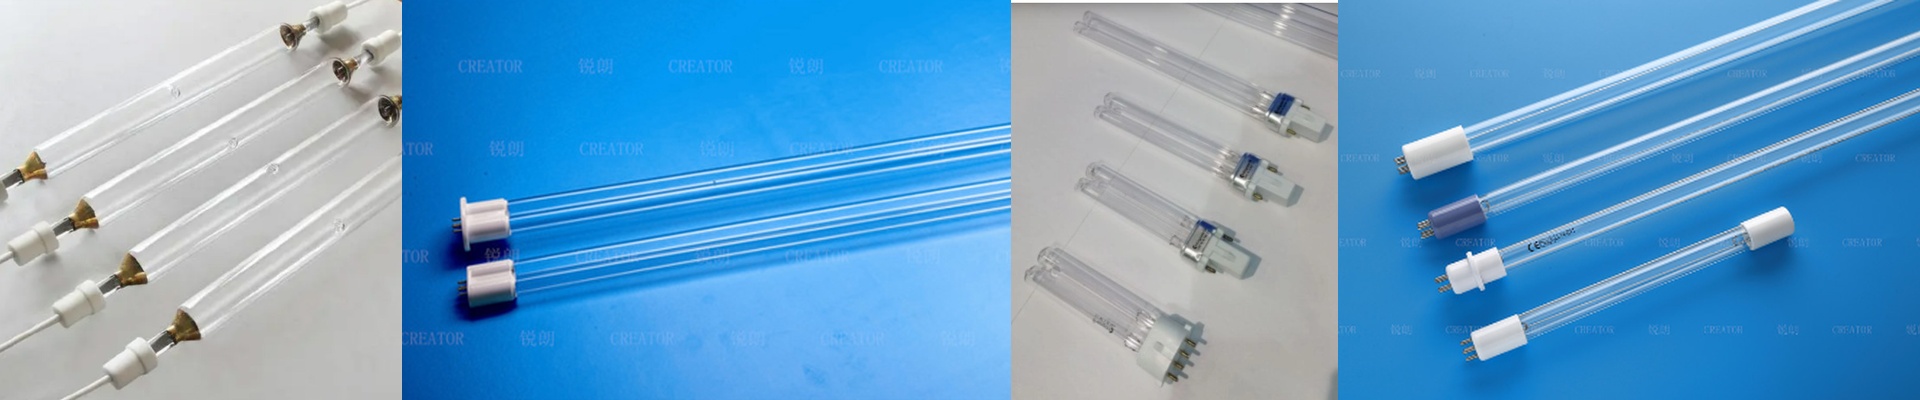
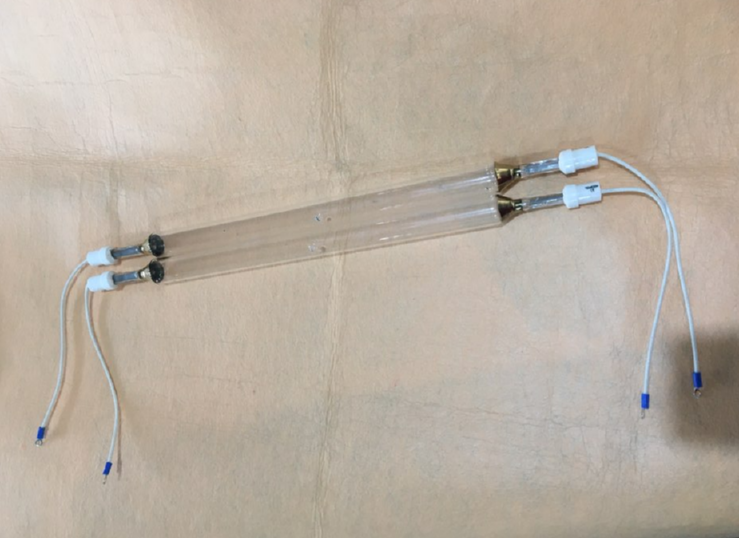
On the press floor, blackened lamp ends aren’t just ugly — they’re telling you something. That darkening usually points to too many hot restrikes, or a lamp/ballast pairing that’s off. Every time you hot-restrike, the arc has to re-establish, and that chews up electrode material, depositing it right where you see the soot. On the other side, an under-driven lamp runs cooler and can’t fully vaporize the mercury. The spectrum drops off, and you end up stretching exposure time to compensate. Power, spectrum, and cure consistency High-pressure mercury UV emitters deliver the photon flux you need for fast cross-linking. Peak irradiance — measured in mW/cm² — is what drives photoinitiator absorption and reaction speed. Mercury lamps hit strong output at 365nm, with useful lines at 313nm and 405nm. Keep the arc stable and the quartz envelope in good shape, and you get repeatable spectral output and predictable curing energy density (mJ/cm²). Match the ballast properly, and you hold lamp current steady, cut flicker, and stretch electrode life. Here is why it matters on UV offset, flexo, and screen lines: when the emitter power lines up with the ink’s photoinitiator window, cure time drops and throughput stops yo-yoing. Set the lamp current correctly, the arc settles fast, end-blackening stays under control, and reflector efficiency stays high. Fewer lamp swaps, less energy per part, and a cure you can count on across the substrate. High-power mercury emitters need ballasts they actually play well with, and lamp-to-reflector alignment has to be spot on. Get either wrong, and you’ll see current ripple, uneven spectral output, and premature blackening. Double-check lamp voltage and connector compatibility with your curing module, and make sure shutter cycles and interlock logic aren’t causing unnecessary restrike. If you want ozone-free operation, run ozone-less quartz and keep airflow where it needs to be; otherwise ozone buildup eats the envelope and cuts lamp life short.