Making UV Curing Work for Textile Printing
Ever wonder how we get ink to stick to fabric without using those massive, scorching thermal ovens? We use UV curing. Basically, we hit the ink with shortwave ultraviolet light, which triggers a quick chemical reaction. It turns liquid ink into a solid, durable film almost instantly. It’s fast. Really fast.
Getting the Settings Right
Depending on the setup, we usually go with mercury-vapor or LED sources. The sweet spot is usually between 365nm and 405nm. Why? Because that range gets deep into the ink without frying the fabric. But here’s the tricky part: it’s a balancing act. If you crank the intensity too high or let the fabric crawl too slowly on the belt, you’re going to have a bad time. You’ll end up with shrunk fabric or weird yellow stains. You have to find that perfect middle ground between the power output and the line speed to get a clean cure.
The Hardware Side of Things
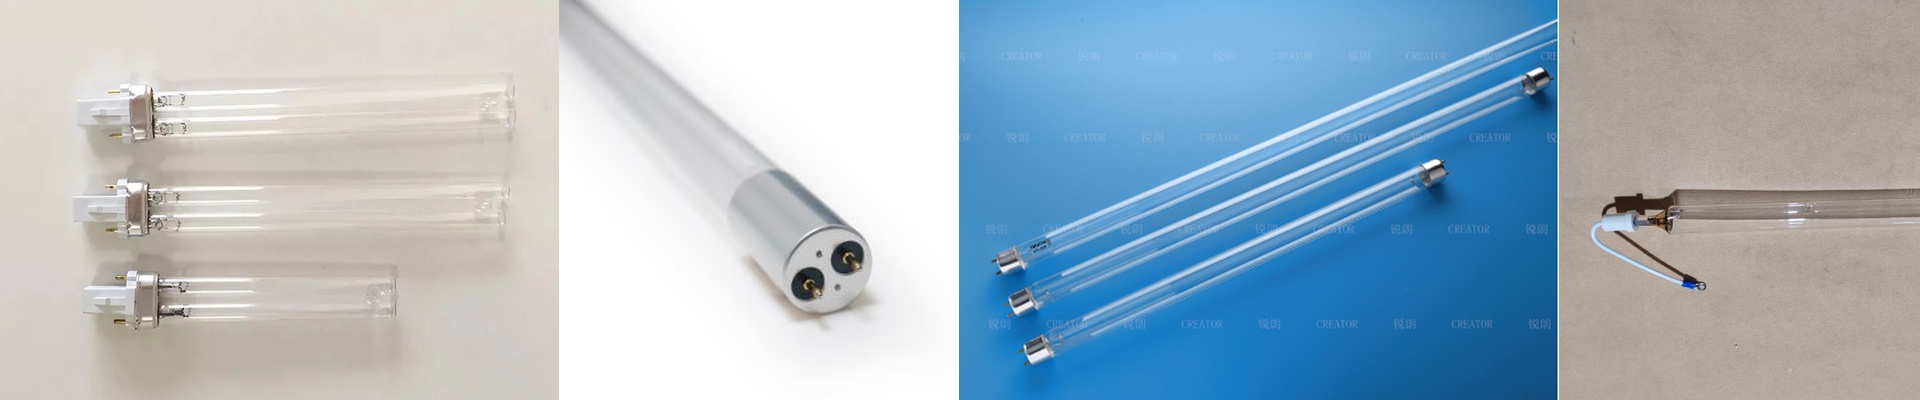
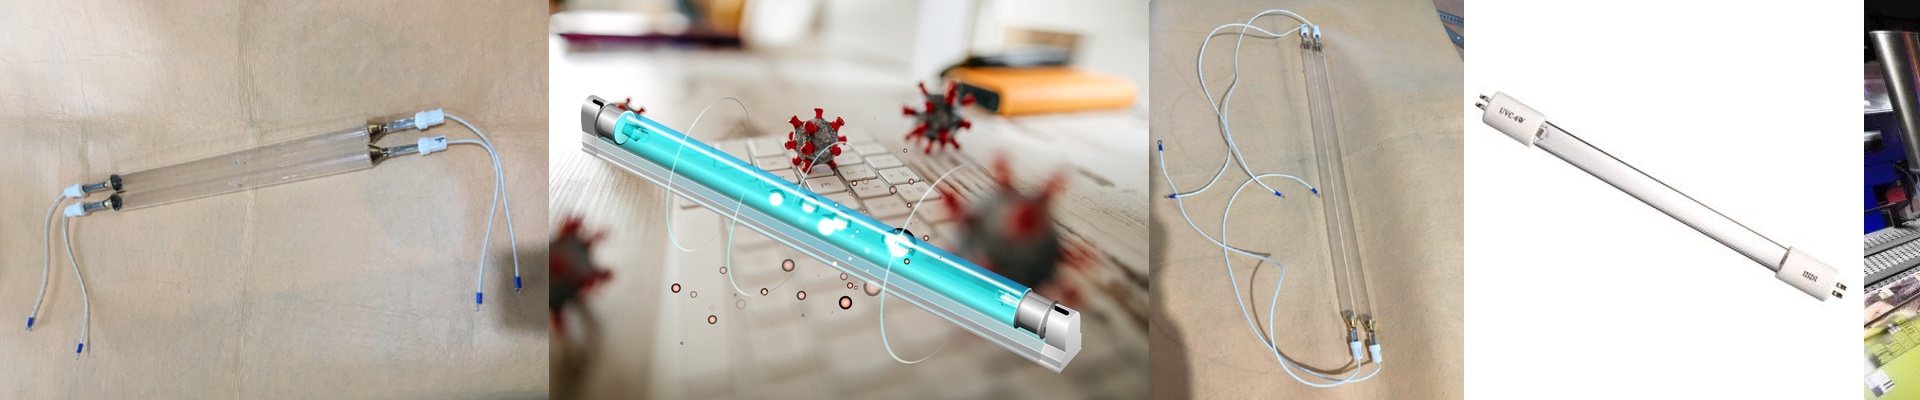
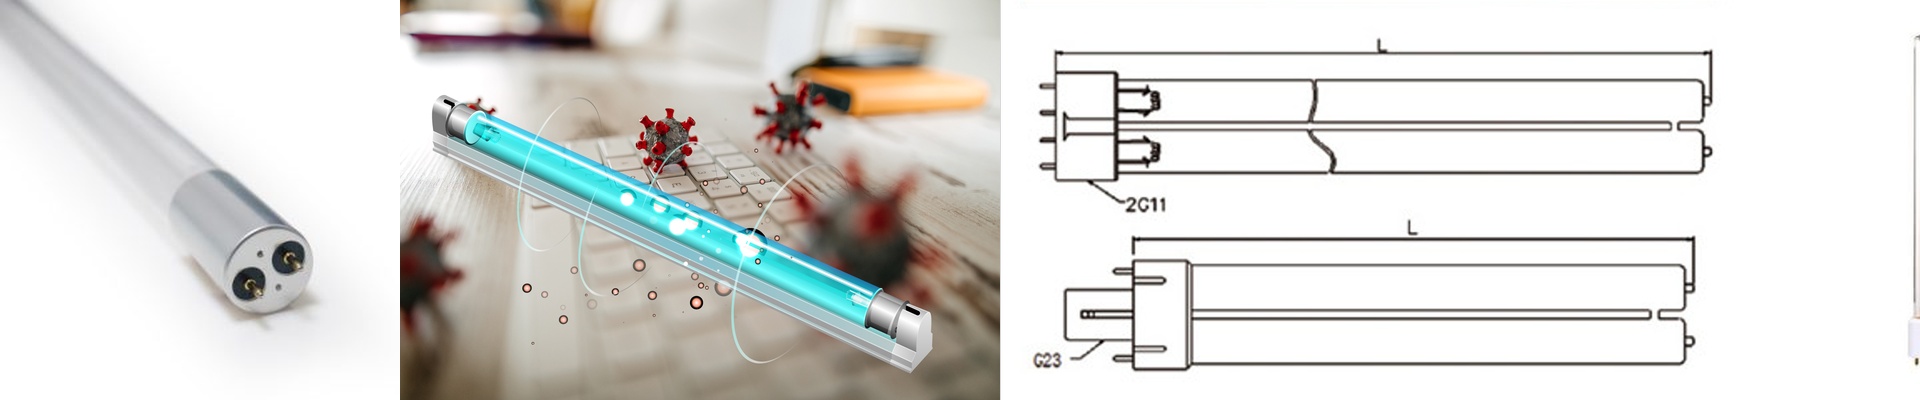
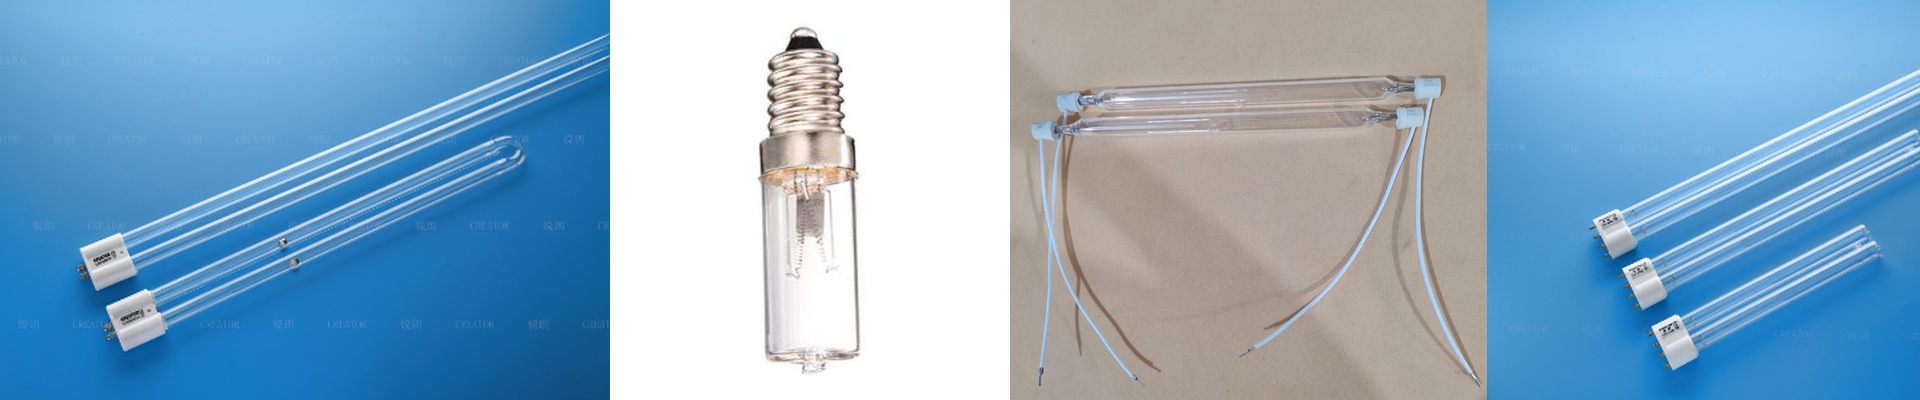
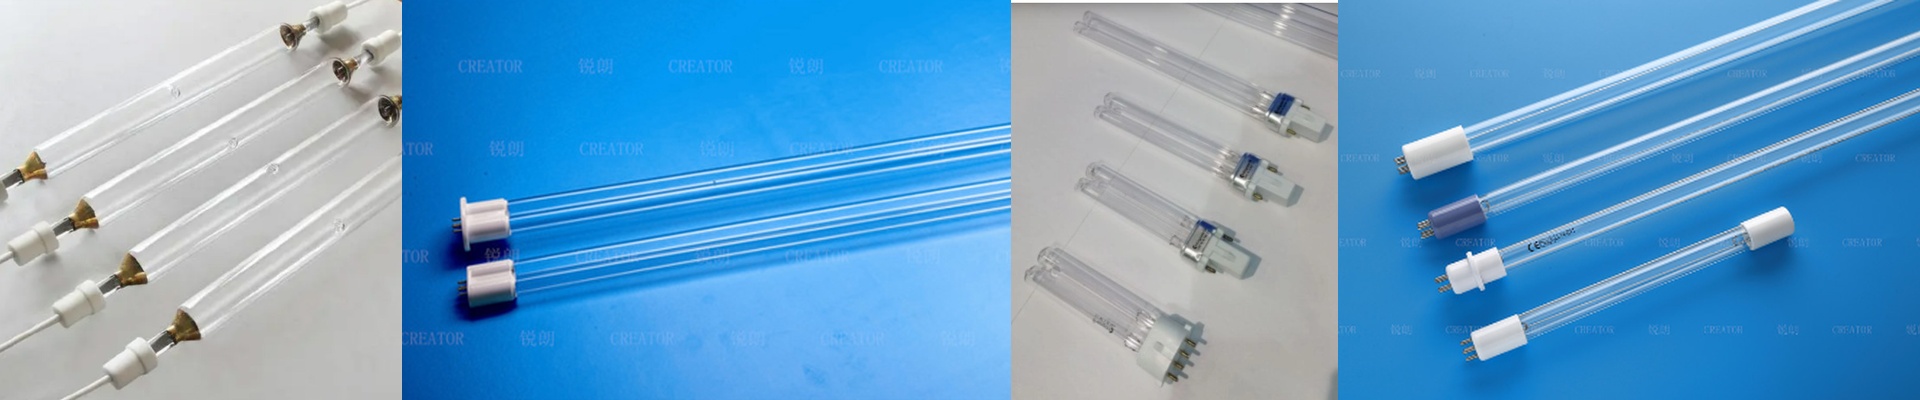
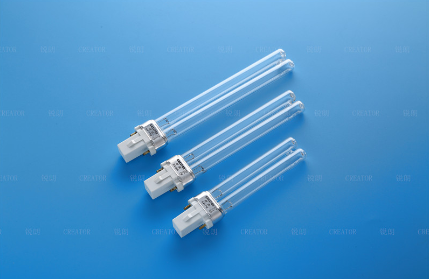
We build our lamps using high-purity fused quartz. We do this because quartz lets the UV rays slide right through without losing any power. The problem is that these lamps gethot. Like, really hot. To keep things from melting down, we add cooling fans or water-cooled jackets. If you skimp on the cooling, the bulb will burn out way too soon, or worse, the quartz will just crack from the heat shock.
Quality Control and Cleaning
In our world, UV light wears two hats. First, it locks the pigment in place. This means when the customer washes the garment, the design actually stays put instead of bleeding into the rest of the fabric. Plus, we use UV-C bands to scrub the fabric of any organic gunk before the ink even touches it. It’s like a deep clean that helps the ink grip the surface better. You get a sharper image and a finish that lasts. Just a heads-up, though: UV-C can be a bit aggressive with certain synthetic fibers if you leave them under the light too long. We keep a very close eye on the exposure window so we don’t wear out the material.